Difference between r1.35 and the current
@@ -23,7 +23,7 @@
* [https://www.ctan.org/mirrors/mirmon#kr 이용 가능한 mirror site]
* 바꾸지 않으려면, 다음 단계(KTUG 사설 저장소 등록)로.
== KTUG 사설 저장소의 등록 ==
{{{
$ sudo tlmgr repository add http://ftp.ktug.org/KTUG/texlive/tlnet ktug
* 바꾸지 않으려면, 다음 단계(KTUG 사설 저장소 등록)로.
== KTUG 사설 저장소의 등록 ==
* 다음 둘 중 하나를 한다.
* repository add: 다음 둘 중 하나를 한다.
* [http://wiki.ktug.org/wiki/wiki.php/KtugPrivateRepository?action=show KTUG 사설 저장소]는 mactex2016(texlive2016)부터 지원 ([http://www.ktug.org/xe/index.php?document_srl=219310&mid=KTUG_QnA_board#comment_219319 관련 논의]){{{
$ sudo tlmgr repository add http://ftp.ktug.org/KTUG/texlive/tlnet ktug
@@ -50,7 +50,7 @@
}}}
* 또는 대안으로:
{{{
}}}
* 또는 대안으로:
{{{
$ curl -O http://mirror.ischo.org/KTUG/texlive/tlnet/ktugrepo.pub.txt
$ curl -O https://mirror.ischo.org/KTUG/texlive/tlnet/ktugrepo.pub.txt
$ (sudo) tlmgr key add ./ktugrepo.pub.txt}}}
@@ -67,11 +67,12 @@
== 유용한 팁 ==
* [TeXShop]: 기본 에디터로 TeXShop을 사용할 때 알아두어야 할 사항들.
* [http://wiki.ktug.org/wiki/wiki.php/TeXShop#s-4 arara engine 설치하기] 포함
* 개인적으로 따로 (예로, Dropbox 폴더에) texmf를 두고 사용하는 경우, 새로 mactex을 설치한 후 다음과 같이 등록한다.
* 먼저, 새로 설치한 texlive/20XX에서 texmf.cnf를 찾아 연다. 예를 들어 다음과 같이 할 수 있다.
* 그리고 TEXMFHOME에 {{{~/Dropbox/texmf}}}를 추가한다.
{{{TEXMFHOME = ~/Library/texmf;~/Dropbox/texmf
* [TeXShop]: 기본 에디터로 TeXShop을 사용할 때 알아두어야 할 사항들.
* [http://wiki.ktug.org/wiki/wiki.php/TeXShop#s-4 arara engine 설치하기] 포함
* [http://www.ktug.org/xe/index.php?document_srl=245475&mid=KTUG_open_board SpiX engine 설치하기]
* [http://www.ktug.org/xe/index.php?document_srl=245475&mid=KTUG_open_board Spix 소개]
* [[spix|SpiX]]
* [TeXLiveUtility]: TeXLive를 관리하기 위한 유틸리티* 개인적으로 따로 (예로, Dropbox 폴더에) texmf를 두고 사용하는 경우, 새로 mactex을 설치한 후 다음과 같이 등록한다.
* 먼저, 새로 설치한 texlive/20XX에서 texmf.cnf를 찾아 연다. 예를 들어 다음과 같이 할 수 있다.
{{{ # sudo nano /usr/local/texlive/2018/texmf.cnf
{{{ # sudo nano /usr/local/texlive/2023/texmf.cnf
}}}* 그리고 TEXMFHOME에 {{{~/Dropbox/texmf}}}를 추가한다.
{{{TEXMFHOME = ~/Library/texmf;~/Dropbox/texmf
설치 
- 내려받는다.
- 실행한다.
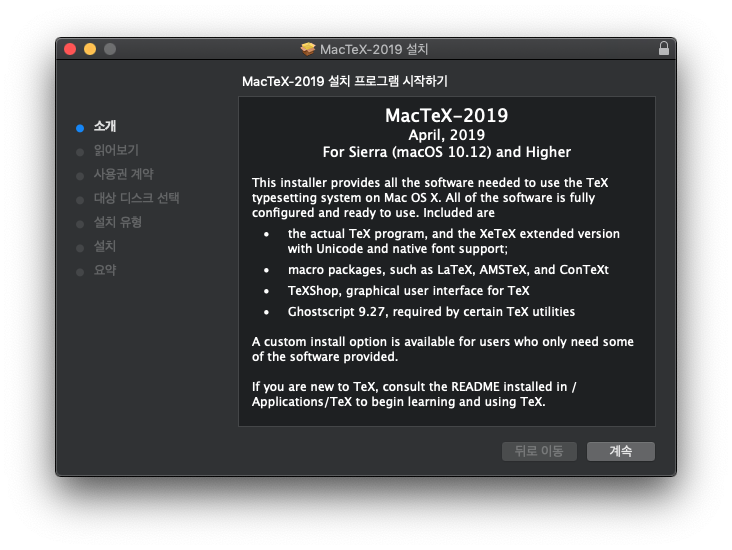 [PNG image (149.71 KB)]
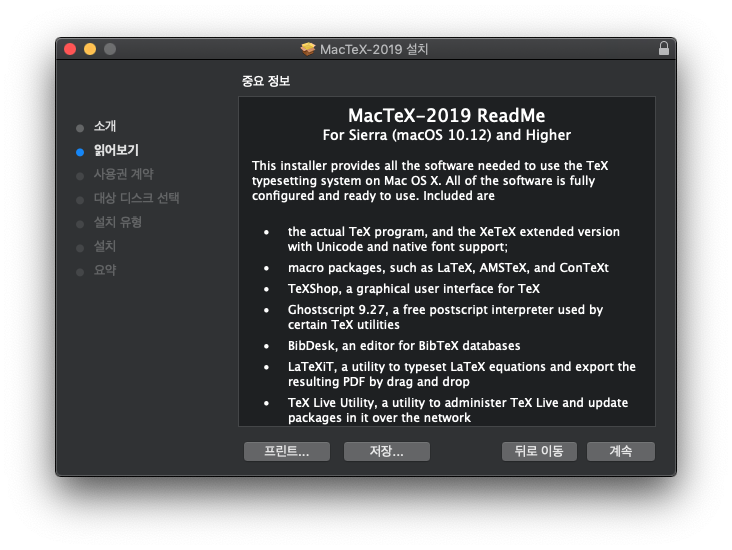 [PNG image (152.32 KB)]
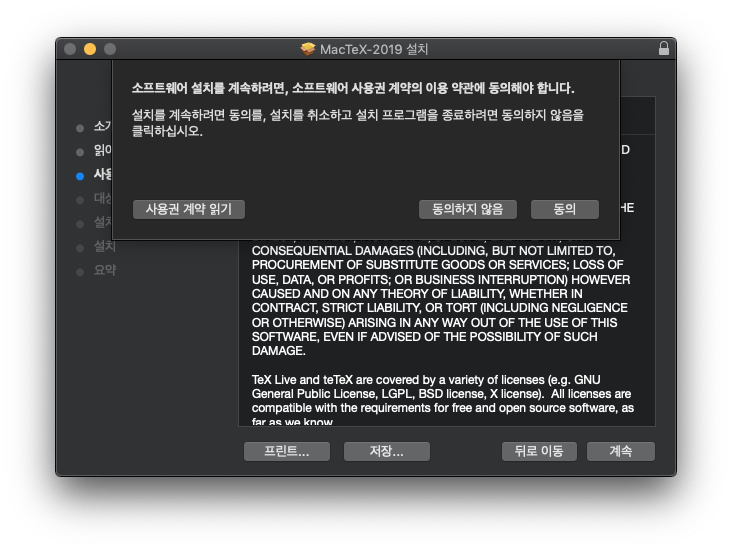 [PNG image (169.42 KB)]
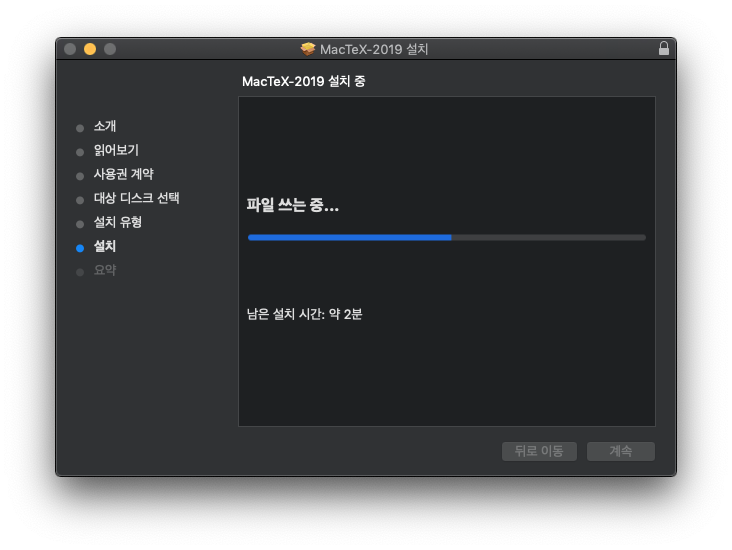 [PNG image (96.22 KB)]
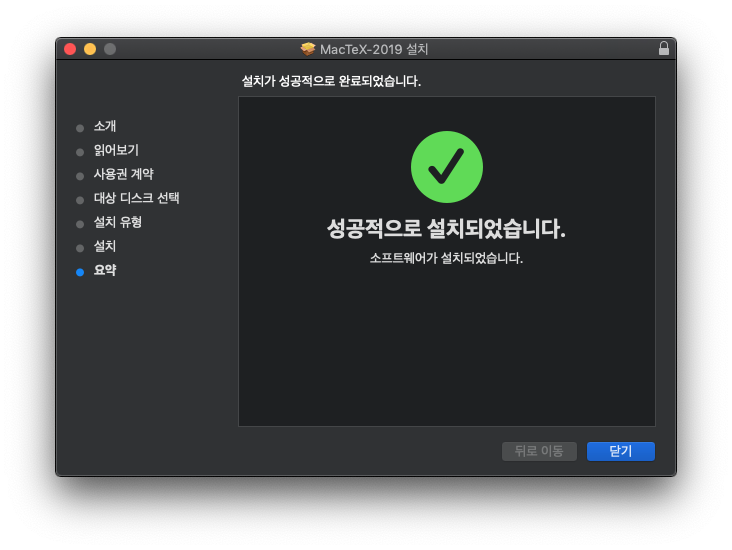
- 끝.
 [PNG image (104.87 KB)]
설치 후 
(터미널을 다시 열어야 합니다.)
저장소 변경(생략 가능) 
- main repository를 특정 mirror 사이트로 바꾸려면 다음 예와 같이 한다.
$ sudo tlmgr option repository https://mirror.kakao.com/CTAN/systems/texlive/tlnet/
- 이용 가능한 mirror site
- 바꾸지 않으려면, 다음 단계(KTUG 사설 저장소 등록)로.
KTUG 사설 저장소의 등록 
- repository add: 다음 둘 중 하나를 한다.
- KTUG 사설 저장소는 mactex2016(texlive2016)부터 지원 (관련 논의)
$ sudo tlmgr repository add http://ftp.ktug.org/KTUG/texlive/tlnet ktug
- 또는 다음을 이용하는 대안도 있다. (최근 업데이트 가능)
$ sudo tlmgr repository add http://mirror.ischo.org/KTUG/texlive/tlnet ktug
- 이전에 이미 한 적이 있다면 생략할 수 있다. ktug의 pinning이 되어 있는지는
tlmgr pinning show명령으로 확인한다.
$ sudo tlmgr pinning add ktug "*"
- tlmgr 실행시
not verified: ...와 같은 메시지를 보게 될 때 (그리고 이 것이 거슬릴 때), 다음과 같이 gpg 키를 추가할 수 있다. - gpg가 설치되지 않았다면 먼저 설치한다.
$ brew install gpg
- gpg가 설치되었다면:
   $ curl -O http://ftp.ktug.org/KTUG/texlive/tlnet/ktugrepo.pub.txt
   $ (sudo) tlmgr key add ./ktugrepo.pub.txt
- 또는 대안으로:
   $ curl -O https://mirror.ischo.org/KTUG/texlive/tlnet/ktugrepo.pub.txt
   $ (sudo) tlmgr key add ./ktugrepo.pub.txt
사설 저장소로부터 폰트 다운로드와 등록 
$ sudo tlmgr install nanumttf hcr-lvt
유용한 팁 
- TeXShop: 기본 에디터로 TeXShop을 사용할 때 알아두어야 할 사항들.
- TeXLiveUtility: TeXLive를 관리하기 위한 유틸리티
- 개인적으로 따로 (예로, Dropbox 폴더에) texmf를 두고 사용하는 경우, 새로 mactex을 설치한 후 다음과 같이 등록한다.
- 먼저, 새로 설치한 texlive/20XX에서 texmf.cnf를 찾아 연다. 예를 들어 다음과 같이 할 수 있다.
# sudo nano /usr/local/texlive/2023/texmf.cnf
- 그리고 TEXMFHOME에
~/Dropbox/texmf를 추가한다.TEXMFHOME = ~/Library/texmf;~/Dropbox/texmf
- 먼저, 새로 설치한 texlive/20XX에서 texmf.cnf를 찾아 연다. 예를 들어 다음과 같이 할 수 있다.


